Outdoor EV Charger Install in Brush Prairie: Emporia Level 2 Setup in Three Hours
The short version: A Brush Prairie homeowner wanted a Level 2 EV charger mounted outside on the siding, fed from the interior panel, with weather-proof conduit and a serviceable disconnect at the base. MAS Pro completed the install in three hours, including the panel-to-exterior power route, modified factory wiring to fit the real-world install, and a clean weatherhead setup that holds up to Pacific Northwest weather.
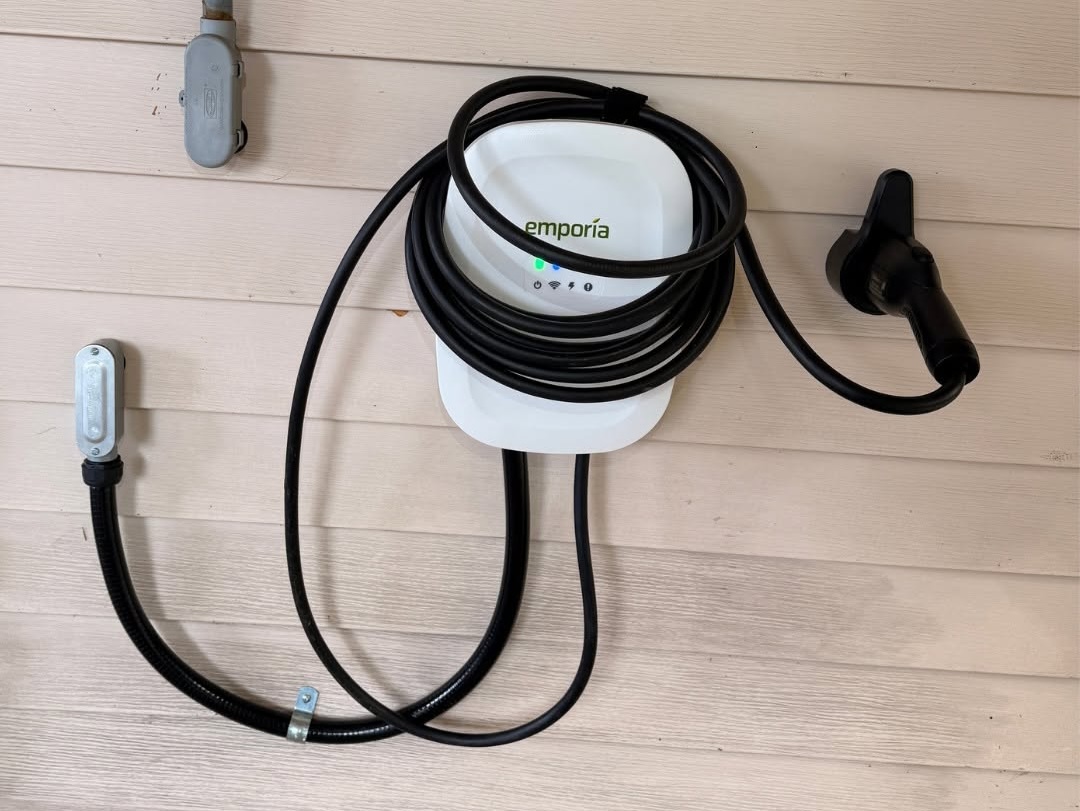
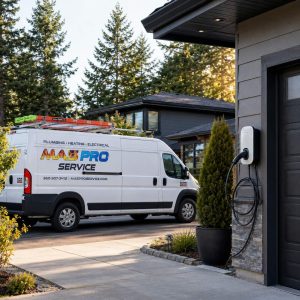
Emporia Level 2 charger mounted on exterior siding, Brush Prairie WA. Conduit drop from interior panel feeds the unit; service loop at base allows future maintenance without re-routing.
Why Outdoor EV Charger Installs Are Different
Most EV chargers in the Vancouver and Brush Prairie area live in a garage. Garages are the easy install: a short run from the panel, no exposure to weather, no UV on the conductors, no rain hitting the disconnect. When the install needs to live outside, the rules change.
An outdoor install has to handle three things that an indoor install does not. The first is moisture: every junction, every receptacle, and every conduit termination needs to be weather-rated and properly sealed. The second is UV exposure: standard interior-rated cable jackets break down in sunlight over time, which is why outdoor runs use UV-resistant conductors or sleeved conduit. The third is service access: the unit will eventually need maintenance, and the wiring has to be installed in a way that lets a future electrician reach into the box without cutting siding or pulling the whole charger off the wall.
That is what made this Brush Prairie install worth a closer look. It is a clean example of how to do an outdoor Level 2 install right.
The Project at a Glance
Project Summary
How the Install Went
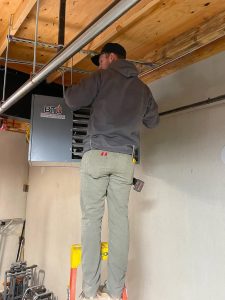
The homeowner already had the Emporia unit on site. Our job was to get the power from the existing panel out to the exterior wall, mount the charger, and tie it in cleanly.
- Route planning. We walked the run from the panel location to the mount point on the siding, picked the cleanest path through the wall, and identified where the exterior conduit drop would land.
- Wall penetration and conduit installation. PVC conduit run from the interior wall to the exterior, with a proper LB fitting at the top to keep weather out of the run.
- Power routed from the panel. Conductor sized for the charger’s full nameplate amperage, breaker sized to match, all per code.
- Factory wiring modified. The Emporia charger ships with a specific cable configuration that does not always match real-world mount geometry. We modified the factory setup to land cleanly in the exterior junction box without strain on the conductors or the connector.
- Charger mounted. Unit anchored to siding with appropriate fasteners, cable holster positioned for easy daily use.
- Service loop at base. The loop of cable visible at the bottom of the wall is intentional. It gives the next electrician slack to work with if the unit ever needs to come down for service or replacement, without pulling new wire.
- Final testing. Voltage, ground continuity, and a full charging cycle confirmed before walking off site.
What Made This Install Faster Than Typical
Three hours is on the quick end for an outdoor Level 2 install. A few things worked in this project’s favor.
The interior panel was on the other side of the wall where the charger was going. That meant a short conduit run, minimal in-wall fishing, and no long horizontal pulls.
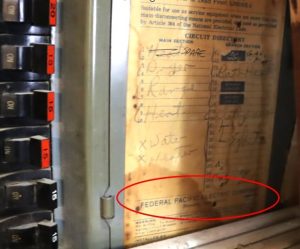
The home had a panel with available slots and headroom for a 50-amp double-pole breaker. No service upgrade was needed before the charger could go in. On properties without that headroom, an EV charger install often becomes a panel upgrade project first.
The Emporia charger was already on site, mounting hardware included, with the configuration the homeowner wanted (hardwired versus plug-in) already decided. That removed two of the most common scheduling delays.
Horizontal lap siding takes anchors cleanly. Stucco, brick, or stone exteriors add time to the mount because the fastener strategy changes.
About the Emporia Charger Specifically
The Emporia Level 2 is a common pick for Brush Prairie and Clark County homeowners for a few reasons. It is rated for outdoor installation, it supports up to 48 amps for faster home charging (when the panel has the capacity to back it), and the universal connector works with most EV models on the road. Honest caveat: any Level 2 charger is only as good as the install behind it. A correctly installed Emporia with proper conduit, breaker sizing, and grounding will outperform an over-spec’d brand-name charger that is wired by someone cutting corners.
For homeowners weighing brand options, the bigger decisions are usually about amperage capacity (32A versus 48A), connector type (universal versus Tesla/NACS), smart features (load management, scheduling, integration with home energy monitoring), and whether you want hardwired or plug-in. Any of those questions can be answered during the site visit when we walk through what your panel will support.
Need an EV Charger Installed in Brush Prairie or Battle Ground?
Whether you have the unit on hand already, or you want help picking the right charger for your panel and your EV, we can come out, look at the panel, walk the install location, and give you a real number. Outdoor, indoor, plug-in, or hardwired, the install needs to be done right the first time.
Call (360) 907-3412Permits and Inspections for EV Chargers in Clark County
EV charger installations in Clark County require an electrical permit pulled through Washington State Labor and Industries. The permit covers the new circuit, the breaker addition, and the disconnect or receptacle at the unit. A licensed electrical contractor pulls the permit, completes the work, and schedules the L&I inspection. Skipping the permit on an EV install is one of the most common shortcuts that creates problems later, especially at resale, when a home inspector flags the unpermitted circuit.
The good news is the permit and inspection process for a typical Level 2 install is fast and low-overhead. It is not a reason to put off the project.
What an Outdoor EV Install Costs in Brush Prairie
Pricing for an outdoor Level 2 install in Brush Prairie depends primarily on the distance from the panel, whether the existing panel has capacity, the type of charger being installed, and any conduit or trenching required. A short, direct install like this Brush Prairie project is on the lower end. A long run, a panel that needs a load assessment, or a trenched run from the house to a detached garage or RV pad shifts the number up meaningfully. The site visit is the only honest way to get a real quote, and we do not charge for that visit.
Frequently Asked Questions
Yes. Most major Level 2 chargers, including the Emporia unit used on this project, are rated for outdoor installation. The install itself has to be done with weather-rated conduit, fittings, and a proper service loop, but the equipment is built for Pacific Northwest exposure.
A straightforward install with the panel close to the mount location and existing panel capacity, like this Brush Prairie project, takes about 3 hours. Installs requiring a panel upgrade, long runs, or trenching can take a full day or more.
Not always. If your existing panel has available slots and load headroom for a 40-amp or 50-amp double-pole breaker, the charger can go in without a service upgrade. If the panel is full or already heavily loaded, a service upgrade may be the right first step. A licensed electrician confirms with a load calculation.
The visible cable loop near the base is intentional slack that allows the charger to be removed from the wall for service or replacement without pulling new wire. It is a sign of a thoughtful install, not a problem.
Yes. EV charger circuits require a permit pulled through Washington State L&I, and the work is inspected after completion. A licensed electrical contractor handles both the permit and the inspection scheduling.
For an outdoor install, hardwired is generally the cleaner choice. It removes the weather exposure on a NEMA 14-50 receptacle and gives a sealed connection at the unit. Plug-in is fine for indoor installs where the receptacle is protected, and it adds portability if the homeowner moves.